


Find What Fits Your Harley
Rockford Fosgate PMX-HD9813 Installation Guide | 1998-2013 Street Glide, Electra Glide
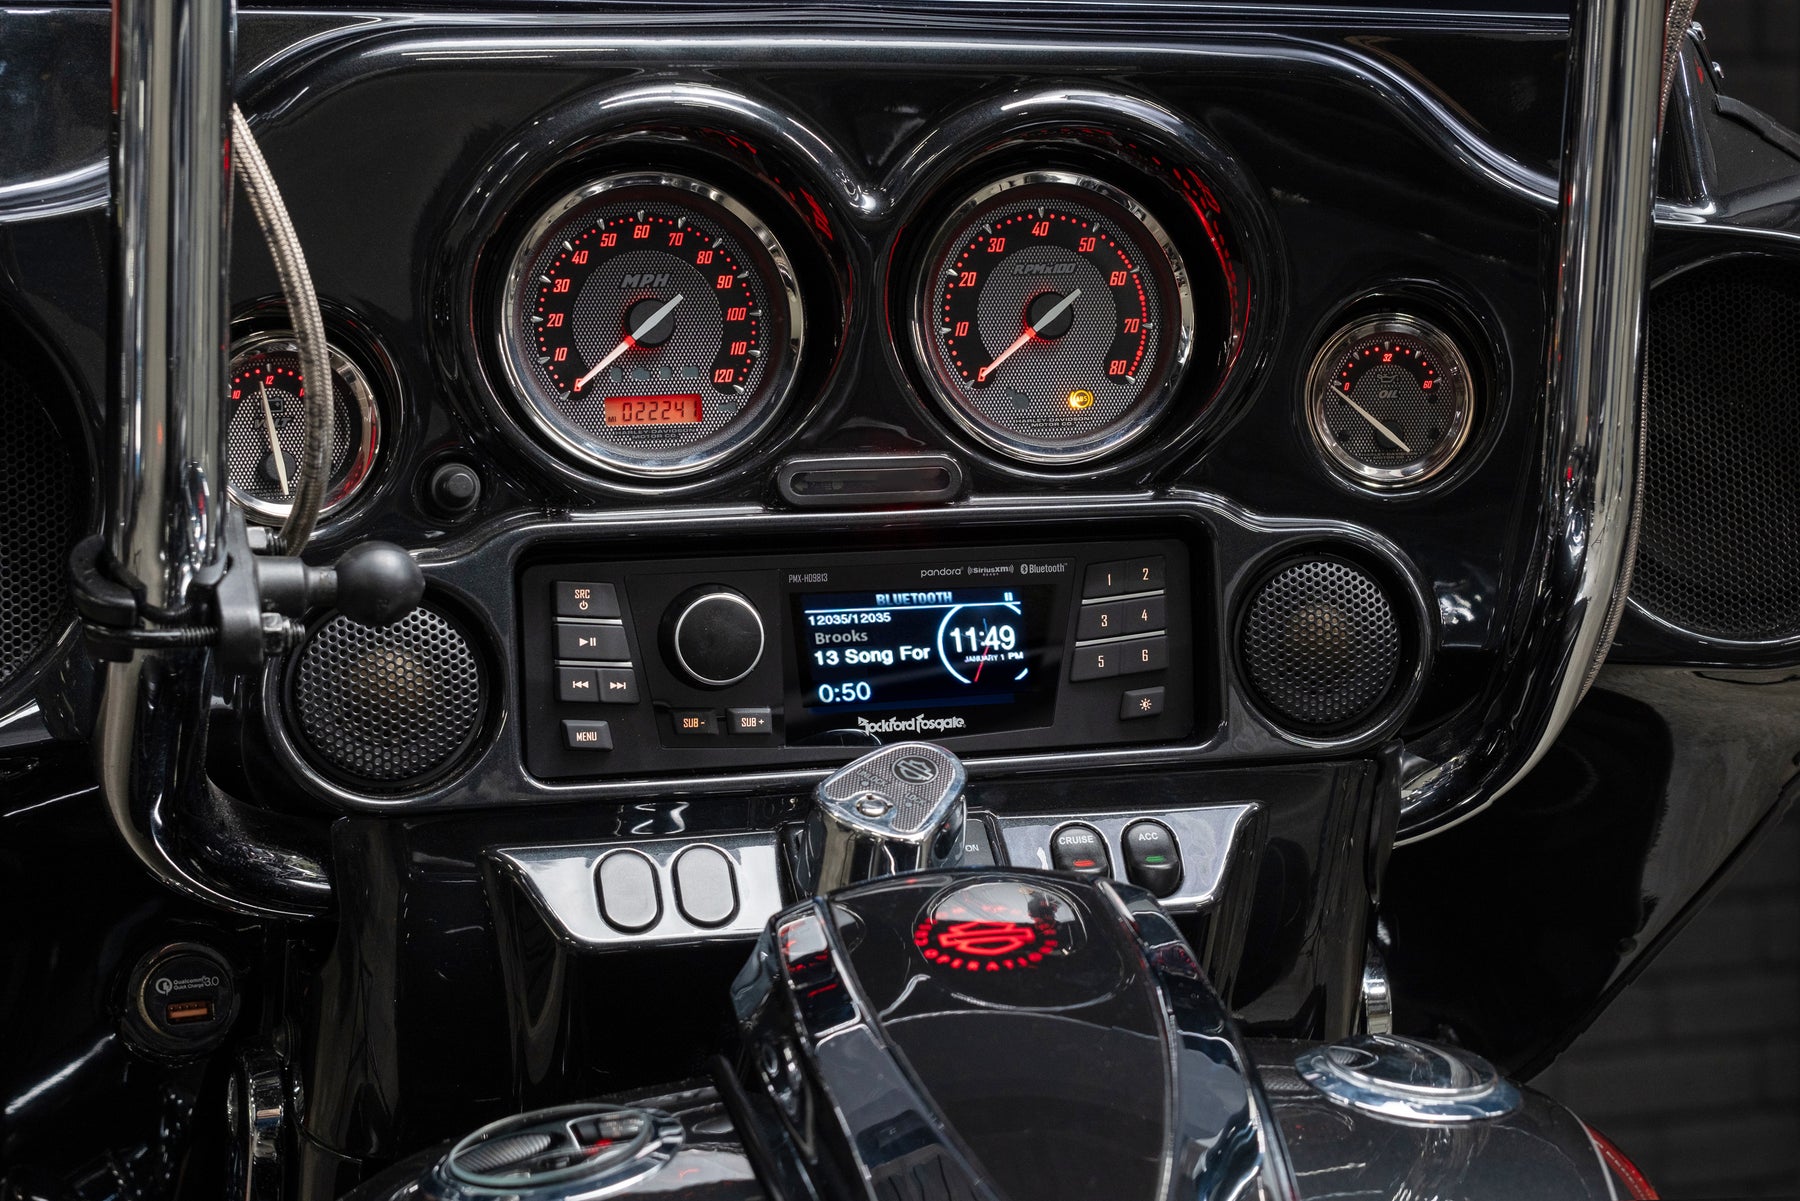
Please follow these installation tips when you're ready to install your new
Rockford Fosgate PMX-HD9813 radio
in your 2006-2013 Street Glide or 1998-2013 Harley-Davidson® Electra Glide.
in your 2006-2013 Street Glide or 1998-2013 Harley-Davidson® Electra Glide.
Tools needed:
- Phillips head screwdriver
- T 25 Torx bit
- Ratchet wrench
- Panel removal tool
- Small flathead screwdriver
Disassembly of the outer fairing:
- Place a fender cover over the front fender to protect the painted surface.
- Remove the three Phillips head screws securing the top of the fairing and the windshield.
- Remove the windshield.
- Remove the six bolts securing the inner outer fairing.
- The first T25 bolt is located at the top of the fairing near the speaker grille. Repeat on the other side.
- The second and third T25 bolts are located on the sides of the fairing. Repeat on the other side.
- The last set of T25 bolts are located inside of the forks at the bottom of the fairing.
- Once all bolts have been removed, you can lift off the outer fairing and disconnect the headlight connection.
Removal of the factory radio:
- Disconnect all connections from the back of the factory radio.
- Remove the four 3/16th inch allen wrench to remove the four bolts securing the factory radio.
- If you have the ball end allen wrenches those are preferred for the removal of the inner bolts.
- Remove the factory radio by pulling straight back towards you, towards the front of the motorcycle (front fender).
Step 3
Installing your new Rockford Fosgate radio:
- Place the radio into the fairing from the front of the bike (front fender).
- The dash kit should fit snugly up to the inside of the inner fairing.
- Secure the dash kit and radio using the four factory 3/16th inch bolts.
- We recommend starting all four bolts with your fingers to ensure that they are lined up before tightening them down with the ratchet.
- Make the need connections to the radio.
- Attach the main harness plug from the radio to the main connector from the motorcycle.
- If applicable, connect the rear speaker harness to your factory 35 pin rear speaker harness.
- Connect the AM/FM antenna.
- If applicable, connect the Sirius XM tuner to the radio.
- Connect the provided antenna to the module and mount the antenna. We recommend mounting the antenna on the top of the inner fairing, but you may choose to mount it elsewhere.
Test your new Sony radio:
- Make sure that your key fob is near the motorcycle and switch the ignition to accessory power.
- Allow the head unit to power on completely.
- Connect your phone in the bluetooth setting on your phone.
Reassembling your outer fairing:
- Secure any loose wires with zip ties.
- Reconnect the headlight connector and place the outer fairing back on the motorcycle.
- We recommend placing the center windshield bolt into place to hold the outer fairing.
- Line up and replace the T25 bolts inside of the forks at the bottom of the fairing.
- Replace the T25 bolts along the each outside of the fairing.
- Replace the windshield and secure with the three Philips head screws.
Congratulations on installing your new Rockford Fosgate bundle!
Looking to gain more audio out of your system, check out Rockford Fosgate audio stage packages.